Have you ever wanted to create simple animated videos programmatically? In this tutorial, we'll learn how to create a video file that features animated text using Python. We'll use libraries like MoviePy and NumPy to create smooth text animations that you can use for intros, presentations, or social media content.
Prerequisites
Before we begin, make sure you have the following libraries installed:
pip install moviepy numpy
Understanding the Code
Let's create a Python script that generates a text animation with a fade-in effect, some movement, and a fade-out. We'll break this down into manageable steps and explain each component.
from moviepy import *

import numpy as np


def create_animated_text(text="Hello World!", duration=5, fps=30):
    # Create a background
    background = ColorClip(size=(1920, 1080), color=(0, 0, 0))
    background = background.with_duration(duration)

    # get path to default font of the system. Make sure to change it
    font = "/usr/share/fonts/truetype/noto/NotoSans-Bold.ttf"

    # Create the text clip without a font parameter
    text_clip = TextClip(
        font=font, text=text, color="white", font_size=70
    )

    # Set the clip duration
    text_clip = text_clip.with_duration(duration)

    # Define the movement function
    def move_text(t):
        # Start position (center of screen)
        start_x = 1920 / 2 - text_clip.w / 2
        start_y = 1080 / 2 - text_clip.h / 2

        # Add slight floating movement using sine wave
        y_offset = np.sin(t * 2 * np.pi) * 20

        return (start_x, start_y + y_offset)

    # Apply the movement
    text_clip = text_clip.with_position(move_text)

    # Combine background and text
    final_clip = CompositeVideoClip([background, text_clip])

    return final_clip


def main():
    # Create the animation
    video = create_animated_text(
        text="Welcome to Python Animation!", duration=5, fps=30
    )

    # Write the video file
    video.write_videofile("animated_text.mp4", fps=30, codec="libx264", audio=False)


if __name__ == "__main__":
    main()
How It Works
Setup: We import the necessary libraries and create two main functions - create_animated_text() for generating the animation and main() to execute the program.
Background Creation: We create a black background using ColorClip with Full HD resolution (1920x1080).
Text Configuration: The TextClip is created with customizable parameters like font size, color, and spacing.
Animation: We define a move_text() function that:
- Centers the text on screen
- Adds a gentle floating movement using a sine wave
- Returns the position coordinates for each frame
Effects: We add fade-in and fade-out effects to make the animation smoother.
Composition: The background and text are combined using CompositeVideoClip.
Export: Finally, we write the video to a file using H.264 codec for good compression and quality.
Customization Options
You can customize various aspects of the animation:
- Text content and font properties
- Duration and FPS
- Movement patterns
- Background color
- Fade timing
- Video resolution
Output
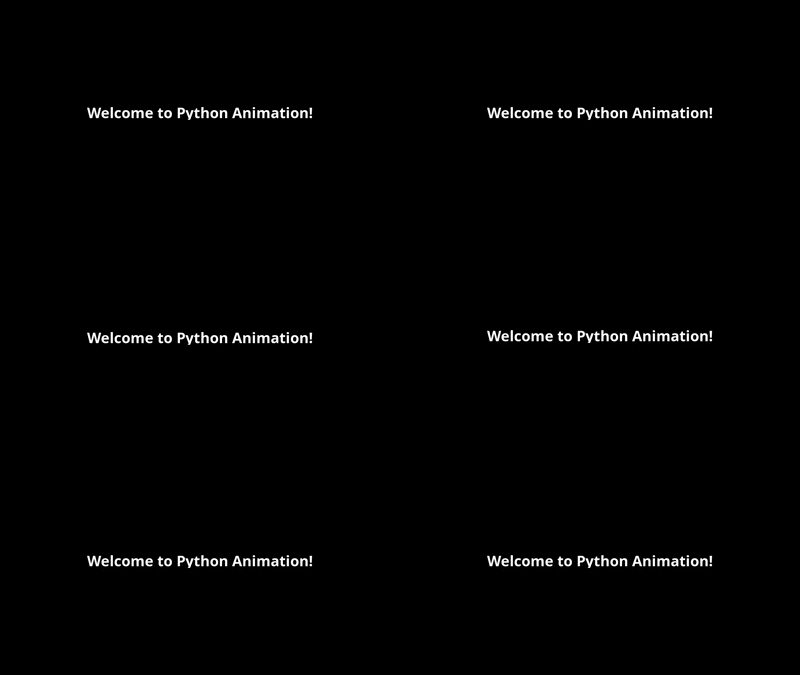
The script will generate an MP4 file named "animated_text.mp4" with your animated text. The text will fade in, float gently up and down, and fade out, all against a black background.

Common Issues and Solutions
Missing Codecs: If you encounter codec errors, install ffmpeg:
# On Ubuntu/Debian
sudo apt-get install ffmpeg

# On macOS with Homebrew
brew install ffmpeg
Memory Usage: For longer videos or higher resolutions, you might need to adjust the memory settings in MoviePy.
Conclusion
This tutorial demonstrates how to create basic text animations using Python. You can build upon this foundation to create more complex animations by adding multiple text elements, changing movement patterns, or incorporating other visual effects.
Remember that MoviePy is quite versatile - you can extend this code to include background music, multiple text elements, or even combine it with other video clips to create more complex compositions.
Feel free to experiment with different parameters and effects to create your own unique animated text videos!